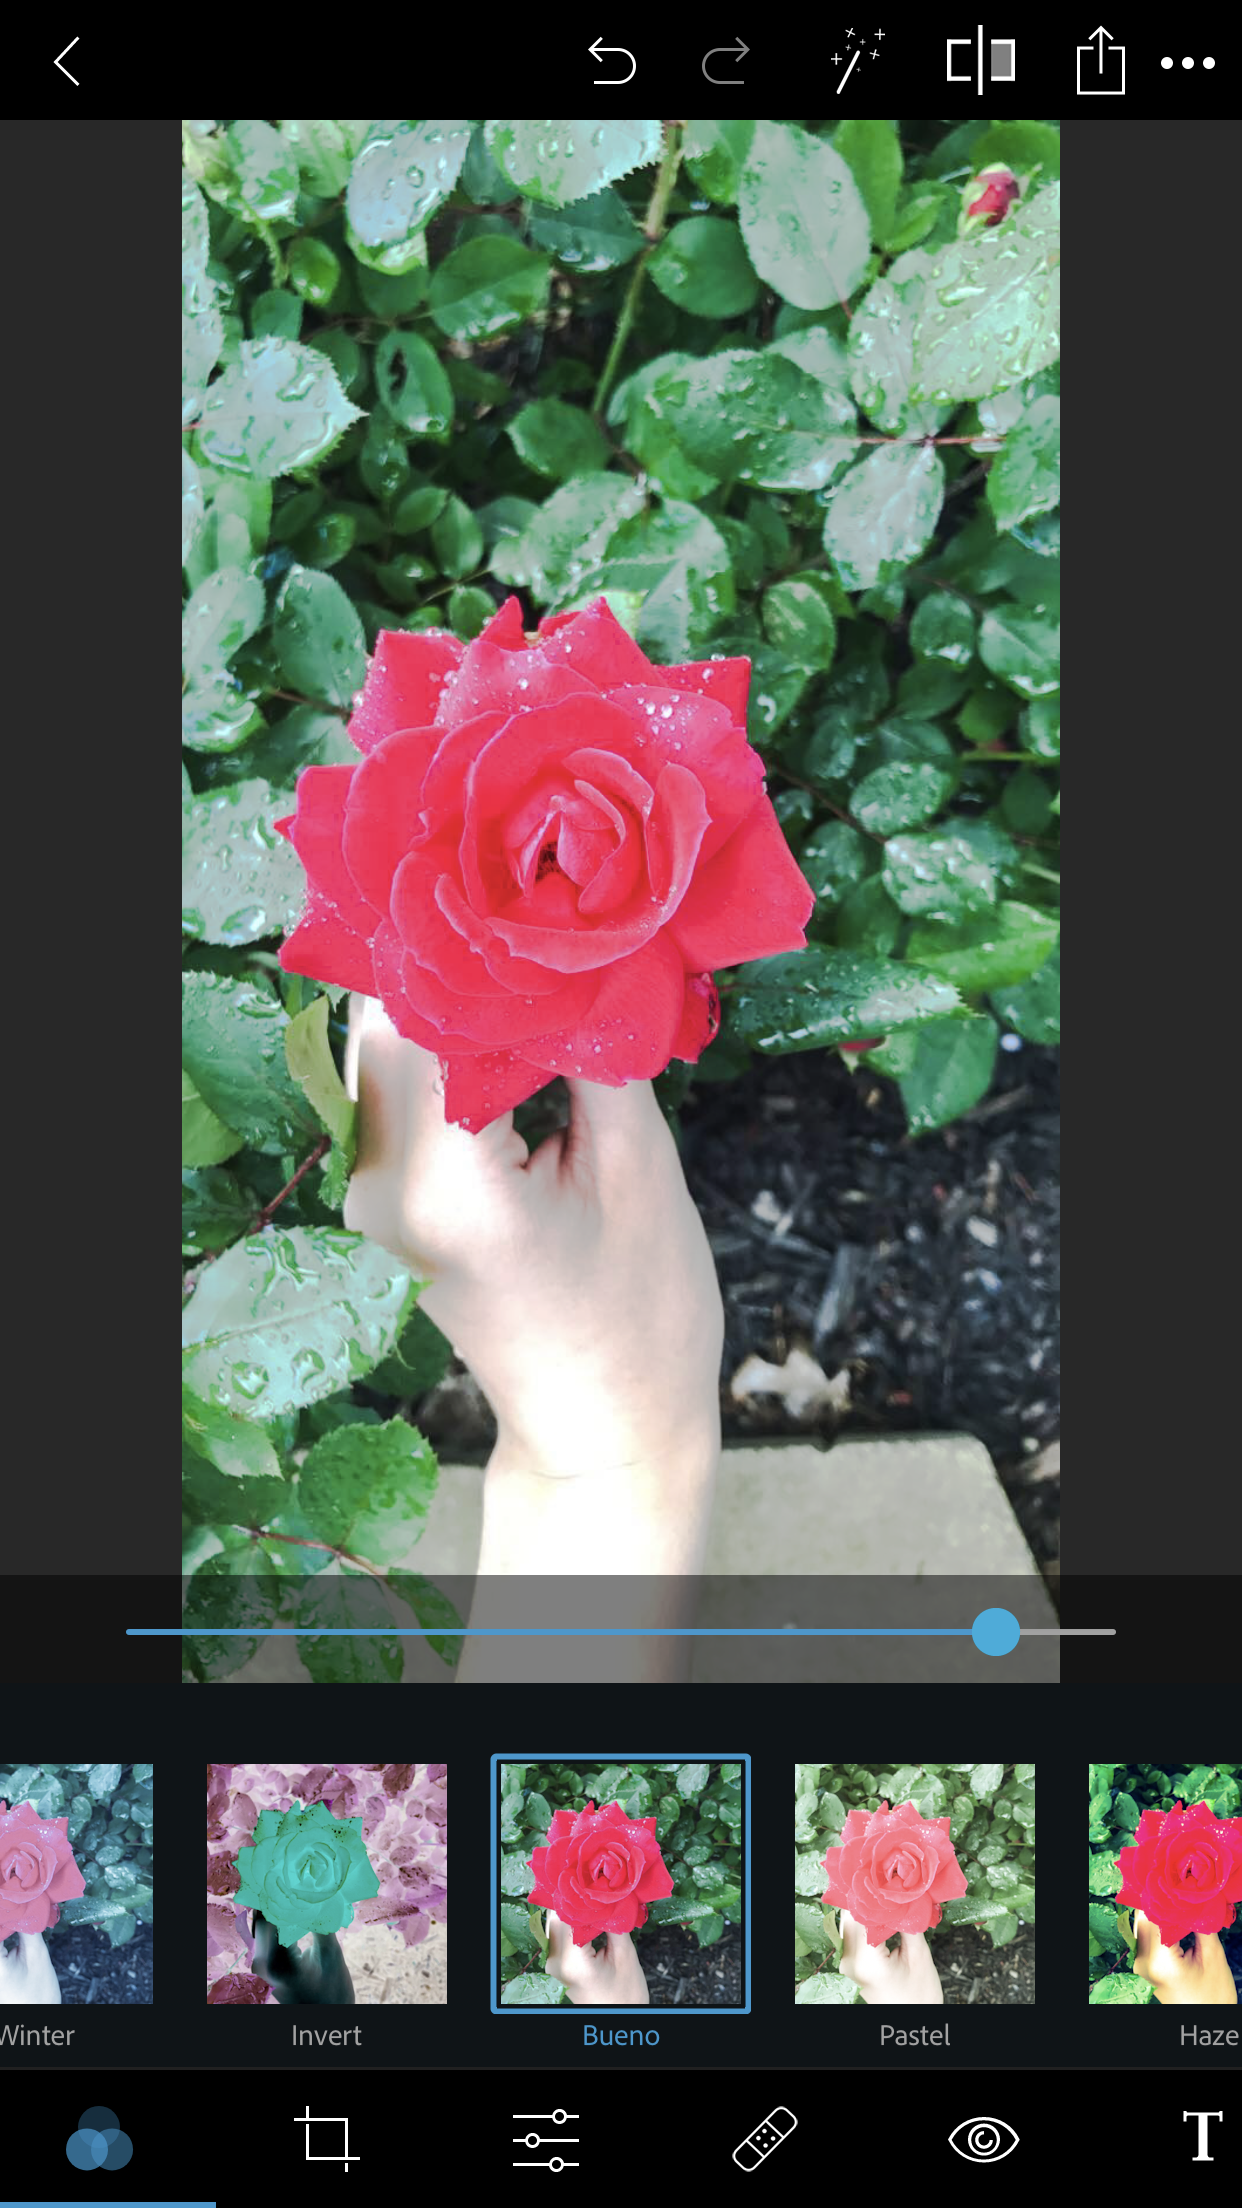
For module 3 of the round 2 projects, I reviewed the photo editing app “PS Express”. This app is also known as “Adobe Photoshop Express”. PS Express allows you to take an ordinary photo and add filters, edit things from the pictures (saturation, clarity, etc.), and much more. You can download the free app in the App Store and is also available for Androids. Here is what the app looks like:

PROS: The pros of this app outweigh the cons by far for me. I thought the app was extremely easy to use, had everything I needed in order to get what I wanted, and much more. Like most apps, PS Express gives you the option to change how much filter you want on the picture. I find this extremely helpful because some apps only let you filter it as what they give you, however with this you can edit and filter it as much as you want. Another thing I liked about this app was that it was free. Not only was it free, but it didn’t make me pay for additional features, everything was included and was all free. In addition, some apps have a ton of ads and videos popping up, however this app did not.
CONS: There were not many cons about this app for me. The only “issue” I had with it was that I felt some of the filters were either very strong or had no effect. For example, I wanted to add some of the darker filters to the picture because I felt like it made the clouds in the reflection pop, however I could not find a good enough amount to filter it to achieve this. This did not keep me from achieving what I had in mind though, I just had to do it another way
Overall, I would give this app a 5 star rating. I felt that the app did exactly what I had in mind and made it very simple for me to use. As well as being free without annoying ads! In the future, if I or anyone else has to edit a photo, I will definitely be choosing this app and recommending it!
During Module 2 of this project, I read an article “Five Unconventional Landscape Photography Techniques” about capturing detail in the picture. This made me focus on the color of the cloud and the reflection of the clouds in the water. This detail to me was important and made it look like a sunset. The color went from a regular white puffy cloud to a yellow/orange cloud that looks like a sunset. The picture below on the left is after I edited my picture and the picture on the right is before I had. edited it and is the original photo I took
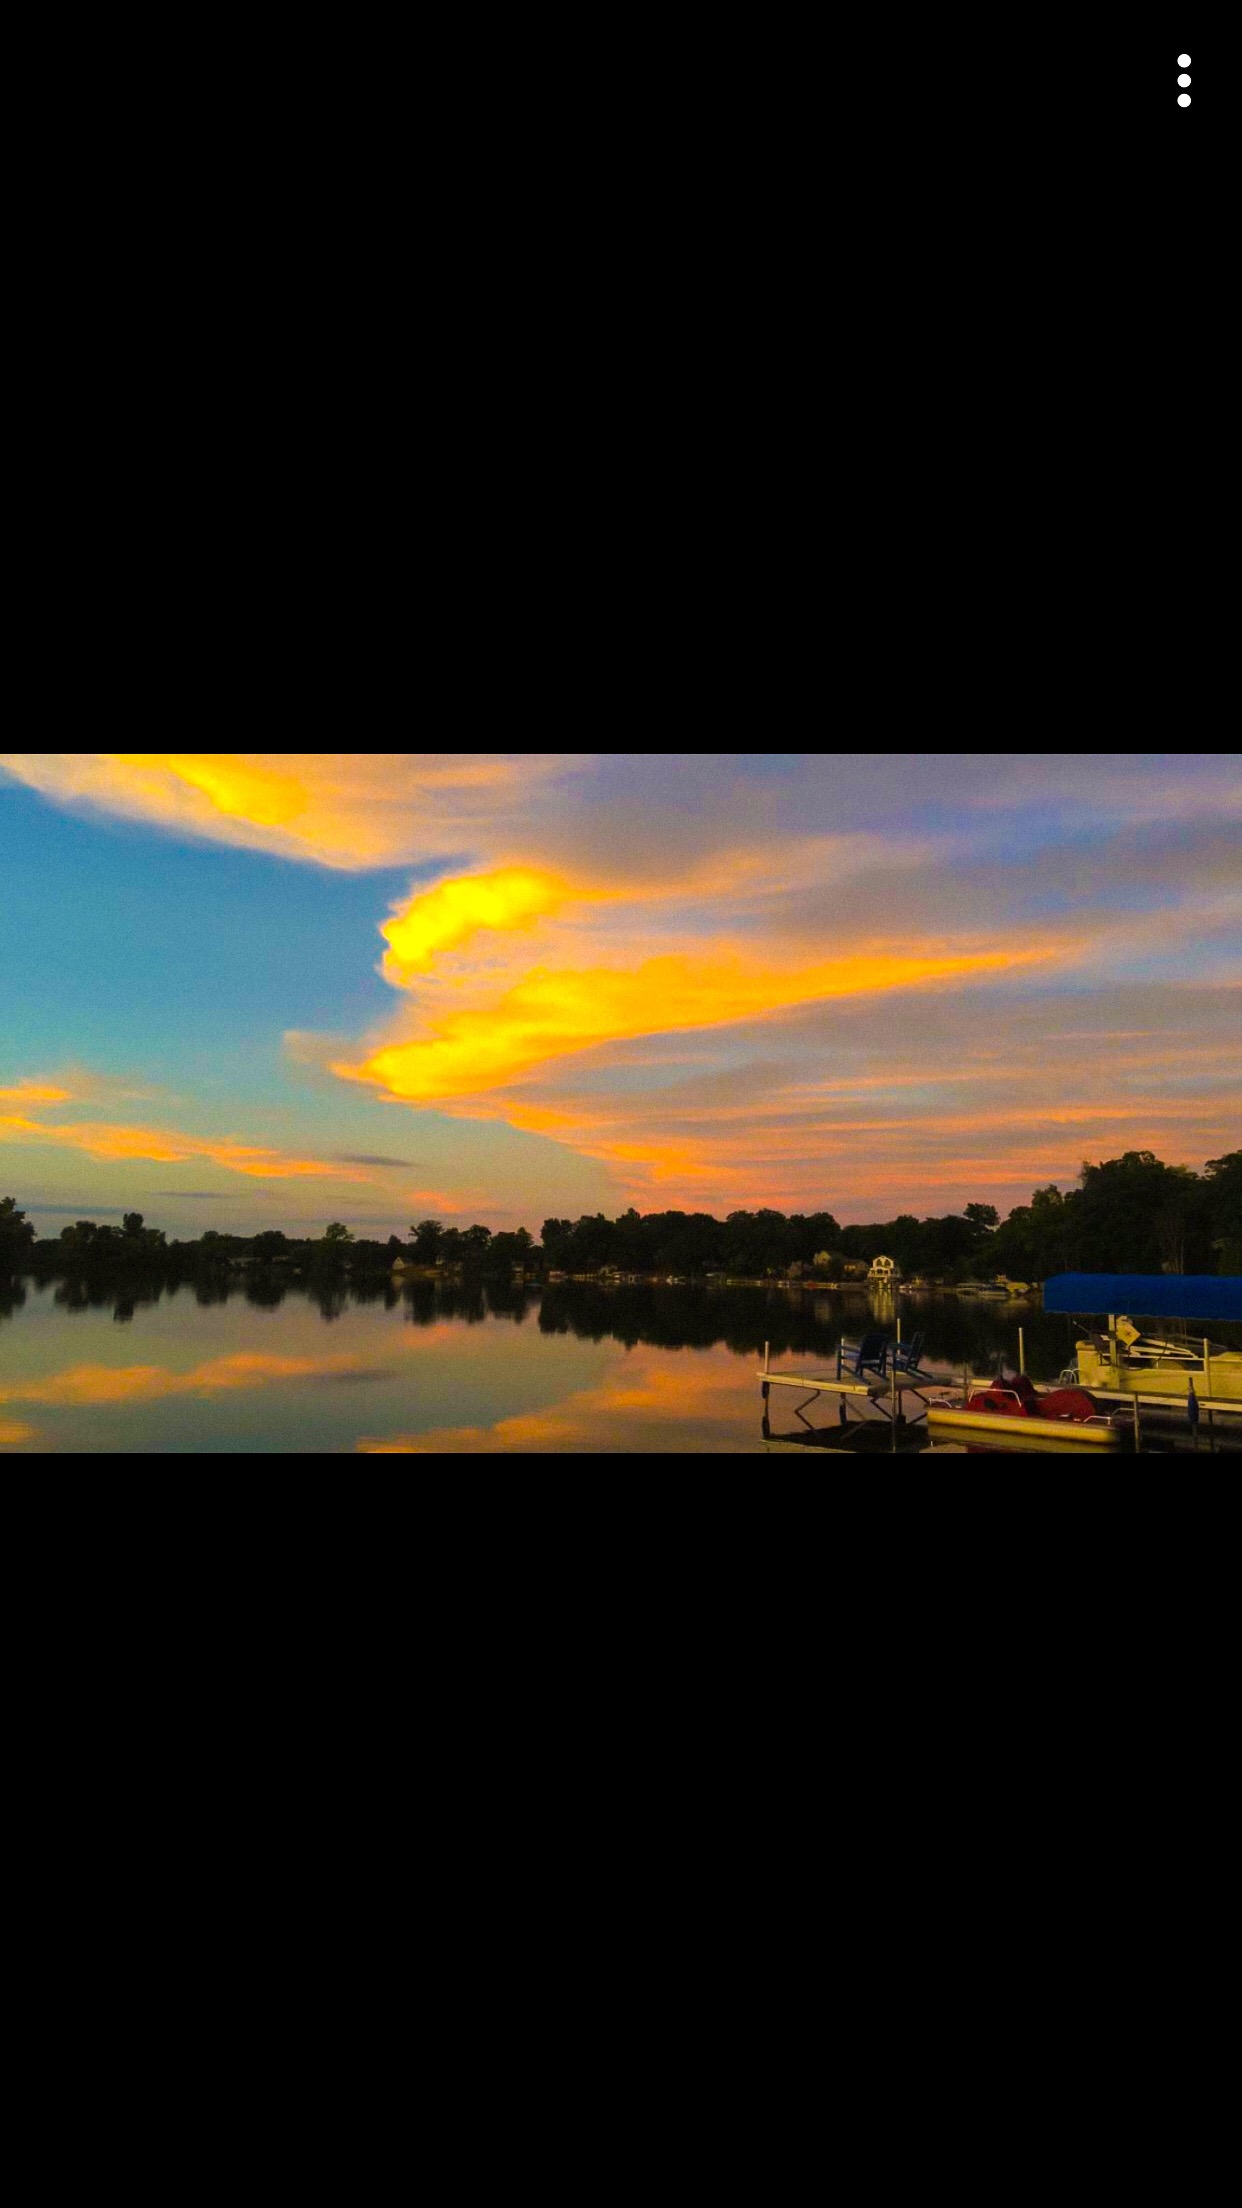

I feel like I really captured the detail in the clouds and the reflection by focusing on what stuck out the most. I agree that detail is probably the best way to make a picture come out amazing. So for this project I tried to focus on the detail and make it as colorful but realistic as I could. I tried to recreate what I thought a strong sunset would look like and focus on that detail.
